A Crystal Clear Guide: How to Remove Scratches from Your Car Windshield
Introduction
A pristine windshield not only enhances the aesthetics of your vehicle but is also crucial for your safety on the road. Unfortunately, scratches can mar the clarity of your windshield, affecting visibility and potentially compromising your safety. The good news is that you don't always need to replace the entire windshield to get rid of scratches. In this comprehensive guide, we will explore effective methods on how to remove scratches from your car windshield. Whether you have minor surface scratches or deeper, more stubborn marks, we have you covered.

Understanding Windshield Scratches
Before we dive into the techniques for removing scratches, it's essential to understand the types of scratches your windshield may encounter:
-
Surface Scratches: These are shallow scratches that typically affect the outer layer of your windshield. They can often be removed with relative ease.
-
Deeper Scratches: These are more substantial scratches that may penetrate deeper into the glass. Removing them can be a bit more challenging but is still possible with the right methods.
-
Cracks: While not technically scratches, cracks are a common issue for windshields. Repairing cracks is a different process altogether and may require professional assistance.
Materials You'll Need
Before you begin, gather the following materials:
-
Windshield Repair Kit: This kit typically includes a polishing compound, abrasive pad, and a felt buffing wheel.
-
Microfiber Towels: These are essential for cleaning and drying the windshield.
-
Glass Cleaner: Use a high-quality glass cleaner to ensure a clean surface.
-
Rubbing Alcohol: This helps remove any residue or oils from the windshield.
-
Water: You'll need water for rinsing and lubricating during the process.
-
Protective Gear: Safety goggles and gloves are essential to protect your eyes and hands.
-
Masking Tape: This is optional but can be used to mask off the area around the scratched section.
Step-by-Step Guide on How to Remove Scratches from Your Car Windshield
Now let's get into the detailed process of removing scratches from your car windshield:
Step 1: Prepare the Work Area
- Park your car in a shaded area to prevent direct sunlight from drying out the solutions too quickly.
- Put on your safety goggles and gloves for protection.
Step 2: Clean the Windshield
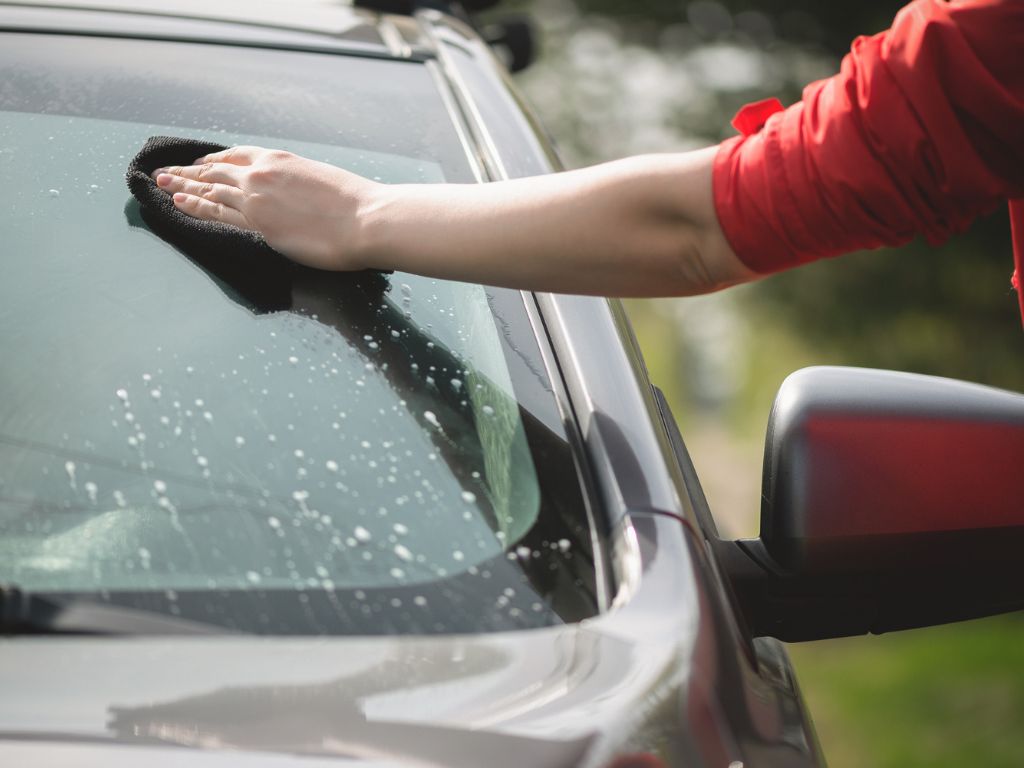
- Start by cleaning the entire windshield with glass cleaner and a microfiber towel to remove dirt and debris.
- Once the windshield is clean, use rubbing alcohol to remove any remaining residue or oils.
Step 3: Assess the Scratches
- Examine the scratches carefully to determine their depth. If they are only surface scratches, you can proceed with the DIY repair.
Step 4: Apply Masking Tape (Optional)
- If you want to protect the surrounding area, you can use masking tape to create a border around the scratched section. This prevents accidental damage to the adjacent glass.
Step 5: Apply the Polishing Compound
- Follow the instructions provided with your windshield repair kit to apply the polishing compound to the scratched area.
- Typically, you'll use an abrasive pad or a felt buffing wheel to apply the compound.
Step 6: Begin Polishing
- Use a low-speed drill (if included in the kit) or a handheld buffer to start polishing the scratched area.
- Apply gentle and consistent pressure while keeping the surface wet with water or a lubricating solution provided in the kit.
- Continue polishing for a few minutes, periodically checking the progress.
Step 7: Rinse and Inspect
- Stop the polishing process and rinse the area with water to remove any excess compound.
- Carefully inspect the scratches to see if they have improved. If they are still visible, repeat the polishing process.
- You may need to repeat this step multiple times for deep or stubborn scratches.
Step 8: Clean and Dry the Windshield
- Once the scratches have been sufficiently removed, clean the windshield again with glass cleaner to remove any remaining residue.
- Dry the windshield with a clean, dry microfiber towel.
Step 9: Remove Masking Tape (if used)
- If you applied masking tape, carefully remove it at this stage.
Step 10: Final Inspection
- Examine the windshield under different lighting conditions to ensure that the scratches are no longer visible.
- If any scratches remain, you can repeat the process or consider seeking professional help.
Tips and Considerations
- Always follow the instructions provided with your windshield repair kit.
- Be patient; removing scratches may require several rounds of polishing.
- Avoid using excessive pressure, as it can damage the windshield further.
- If you're uncomfortable with DIY repairs or have deep or extensive scratches, consider consulting a professional windshield repair service.
Conclusion
A scratch-free windshield not only enhances your driving experience but also contributes to your safety on the road. By following this comprehensive guide on how to remove scratches from your car windshield, you can restore the clarity of your windshield and ensure a safer and more enjoyable journey. Whether you have surface scratches or deeper marks, with the right materials and techniques, you can achieve a crystal-clear windshield that allows you to see the road ahead with confidence.


