A Step-by-Step Guide on How to Stitch a Steering Wheel Cover

A Step-by-Step Guide on How to Stitch a Steering Wheel Cover
Introduction
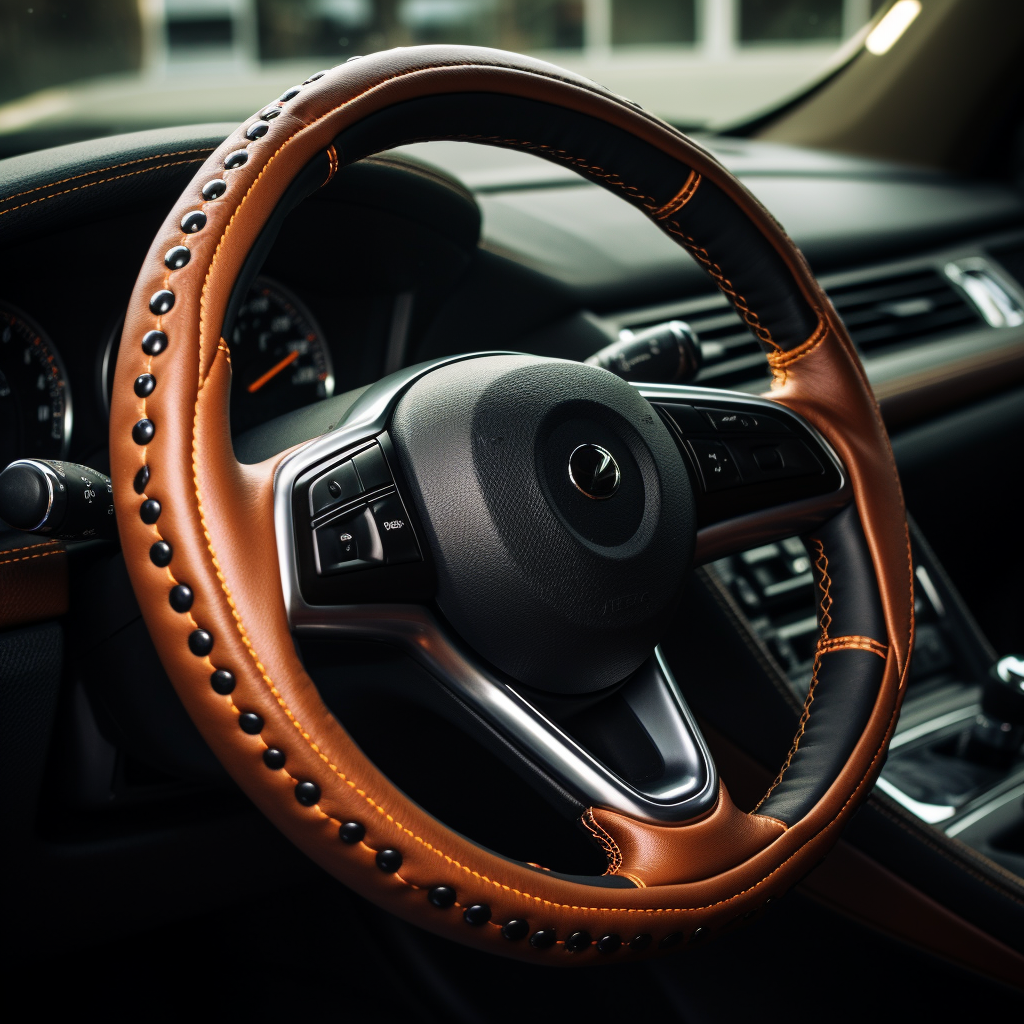
A steering wheel cover not only enhances the aesthetics of your vehicle's interior but also provides a comfortable grip and protects the original steering wheel from wear and tear. While purchasing a ready-made cover is an option, stitching your own steering wheel cover can be a satisfying and cost-effective DIY project. In this comprehensive guide, we will take you through the step-by-step process of stitching a steering wheel cover, ensuring that you achieve a professional-looking result.
Materials You'll Need
Before you begin, gather the following materials:
-
Steering Wheel Cover Kit: Choose a kit that includes a steering wheel cover template, needle, thread, and any additional accessories required for the stitching process.
-
Fabric: Select a fabric that offers durability and a comfortable grip. Leather, faux leather, or suede are popular choices.
-
Measuring Tape: For accurate measurements of your steering wheel's diameter and circumference.
-
Scissors: To cut the fabric to the required size.
-
Pins: To hold the fabric in place while stitching.
-
Chalk or Fabric Pen: For marking the stitching lines on the fabric.
-
Thread Wax (Optional): Helps the needle glide through the fabric more easily.
-
Rubbing Alcohol and Cloth: To clean the steering wheel before applying the cover.
Step-by-Step Guide
Note: Before starting the stitching process, thoroughly clean the steering wheel to ensure proper adhesion of the cover.
Step 1: Measure and Cut the Fabric
Use a measuring tape to determine the diameter and circumference of your steering wheel. Add a couple of inches to these measurements to account for seam allowances and a snug fit. Lay out the fabric and place the steering wheel template provided in the kit on it. Trace around the template using chalk or a fabric pen, and then cut out the fabric shape.
Step 2: Mark the Stitching Lines
Place the cut fabric on the steering wheel to ensure it fits correctly. Use pins to hold the fabric in place and prevent it from shifting. Using the chalk or fabric pen, mark the lines where you intend to stitch. This will serve as a guide to maintain even spacing and create a neat appearance.
Step 3: Thread the Needle
Thread the needle provided in the kit with the thread. If you're using thread wax, apply a small amount to the thread to make stitching smoother. Tie a knot at the end of the thread to secure it.
Step 4: Begin Stitching
Start stitching from the inside of the steering wheel cover, so that the knots are hidden on the inside. Choose a stitch pattern that you're comfortable with, such as a simple running stitch or a cross-stitch pattern. Insert the needle through the fabric from the inside and pull it through until the knot catches.
Step 5: Maintain Consistent Tension
As you stitch, maintain a consistent tension on the thread. This ensures that the stitches are even and secure. Avoid pulling the thread too tightly, as it might distort the fabric or cause it to pucker.
Step 6: Follow the Marked Lines
Follow the marked stitching lines as you work your way around the steering wheel cover. Insert the needle from the inside and bring it up through the fabric along the marked line. Continue this process, maintaining equal spacing between stitches.
Step 7: Corners and Curves
When you reach corners or curves on the steering wheel cover, take your time to ensure that the stitches follow the contour smoothly. You may need to slightly adjust the spacing between stitches to accommodate the shape.
Step 8: Finishing
Once you've completed stitching around the entire steering wheel cover, tie a knot on the inside to secure the thread. Trim any excess thread. Carefully remove the pins that were holding the fabric in place.
Step 9: Installation
Stretch the newly stitched steering wheel cover over your vehicle's steering wheel. Make sure it fits snugly and aligns with the wheel's features. Adjust the cover as needed to ensure a proper fit.
Step 10: Final Touches
Smooth out any wrinkles or imperfections in the fabric. Gently tug on the cover to ensure it's securely in place. Step back and admire your handiwork – you've successfully stitched your own steering wheel cover!
Step 11: Maintenance and Care
Now that you've successfully stitched your steering wheel cover, it's essential to maintain its appearance and prolong its lifespan. Here are some tips for proper care:
-
Regular Cleaning: Depending on the fabric you've chosen, clean the steering wheel cover regularly to prevent dirt and grime buildup. Use a damp cloth or a specialized leather cleaner for leather covers. For fabric covers, you can use a fabric cleaner.
-
Avoid Harsh Chemicals: When cleaning your steering wheel cover, avoid using harsh chemicals that can damage the fabric or cause it to fade. Stick to gentle cleaners that are specifically designed for the type of fabric you used.
-
Protection from Sunlight: Prolonged exposure to direct sunlight can cause the fabric to fade and deteriorate over time. Whenever possible, park your vehicle in shaded areas or use a windshield sunshade to protect your steering wheel cover from the sun's rays.
-
Conditioning (For Leather Covers): If you've chosen a leather cover, consider using a leather conditioner to keep the leather soft and supple. Apply the conditioner according to the manufacturer's instructions to prevent cracking and maintain its luxurious feel.
-
Avoid Sharp Objects: Be mindful of sharp objects that could potentially scratch or puncture the steering wheel cover. Keys, rings, and other metal accessories can inadvertently damage the cover if not handled with care.
-
Re-Stitching (If Necessary): Over time, stitching may loosen due to wear and tear. If you notice any loose threads or areas where the stitching has come undone, consider re-stitching those sections to maintain the cover's integrity.
Step 12: Personalization
While following the basic stitching guide, don't be afraid to add your personal touch to the steering wheel cover. You can incorporate decorative elements such as contrast stitching, embroidery, or even appliqué patches to create a unique and custom look that reflects your style.
Step 13: Share Your Creation
Once you've completed your steering wheel cover, consider sharing your accomplishment on social media or online forums. You might inspire others to embark on their own DIY projects, and you could also receive valuable feedback and suggestions from fellow enthusiasts.
Step 14: Repurposing and Upcycling
If you ever decide to change your vehicle or upgrade your steering wheel, don't discard your old steering wheel cover. You can repurpose it into various items such as a cover for other objects, a small pouch, or even a stylish accessory for your home.
Step 15: Troubleshooting and Tips
During the stitching process, you might encounter a few challenges. Here are some troubleshooting tips to help you navigate common issues:
-
Uneven Stitches: If your stitches are uneven or inconsistent, take a moment to assess your tension. Make sure you're pulling the thread consistently to achieve uniform stitches.
-
Tangled Thread: If your thread keeps tangling or knotting, check the tension and the angle at which you're pulling the thread. Additionally, using thread wax can help reduce tangling.
-
Stitch Slippage: If you notice that stitches are slipping or becoming loose over time, consider using a stronger thread or double-stitching important sections for added durability.
-
Pattern Alignment: When stitching patterns or designs, it's crucial to maintain alignment. Use small marks or pins to indicate where each stitch should start and end to ensure a precise and cohesive pattern.
Step 16: Exploring Advanced Techniques
Once you've mastered the basics of stitching a steering wheel cover, you can explore advanced techniques to further elevate your skills. Experiment with intricate stitch patterns, incorporate multiple fabric layers for added padding, or even combine different materials for a unique texture.
Step 17: Crafting for Others
After gaining confidence in stitching steering wheel covers, consider creating covers for friends, family, or even starting a small business. Customized steering wheel covers can make thoughtful gifts for special occasions or events.
Step 18: Document Your Process
As you embark on the journey of stitching your steering wheel cover, consider documenting each step of the process. You can capture photos or videos to create a tutorial or a personal memory of your DIY achievement.
Step 19: Join Online Communities
Connect with other DIY enthusiasts and car lovers by joining online forums or social media groups dedicated to car modifications and crafting. These communities can provide you with inspiration, tips, and advice for your stitching projects.
Step 20: Embrace Imperfections
Remember that crafting is a journey of learning and growth. Don't be discouraged by minor imperfections in your first few attempts. Over time, your skills will improve, and your stitching projects will become more polished and refined.
Conclusion
Stitching a steering wheel cover is a rewarding endeavor that combines creativity, craftsmanship, and practicality. By following the comprehensive guide provided here and embracing the troubleshooting tips and advanced techniques, you'll not only create a functional accessory but also develop a valuable skill that can be applied to various other sewing projects. As you embark on this journey, remember that each stitch represents your dedication and passion for DIY craftsmanship. So, gather your materials, take a deep breath, and enjoy the process of stitching a steering wheel cover that reflects your unique style and enhances your driving experience.
