A Step-by-Step Guide: How to Remove Car Seat Covers ?
Introduction
Car seat covers are not only functional but also add a touch of style to your vehicle's interior. However, there may come a time when you need to remove them for cleaning, repair, or replacement. While removing car seat covers might seem like a daunting task, it can be relatively straightforward if you follow the right steps. In this comprehensive guide, we'll walk you through the process of safely and effectively removing car seat covers, whether they are fabric, leather, or vinyl.

Chapter 1: Understand Your Car Seat Covers
Before diving into the removal process, it's crucial to understand the type of car seat covers you have. Car seat covers come in various materials, each requiring slightly different techniques for removal. The most common materials include:
-
Fabric: These are often made of materials like polyester, nylon, or blends. Fabric covers are comfortable and come in various colors and patterns.
-
Leather: Leather seat covers add a luxurious touch to your car's interior but require special care.
-
Vinyl: Vinyl covers are known for their durability and resistance to spills.
Knowing the material of your car seat covers will help you choose the right approach for removal.
Chapter 2: Gather Your Tools and Materials
Before starting the removal process, gather the necessary tools and materials to make the job easier and more efficient:
Tools:
-
Screwdriver set: You may need different types of screwdrivers depending on your car's make and model.
-
Pliers: Useful for handling clips and hooks.
-
Utility knife or scissors: For cutting zip ties or any fasteners.
Materials:
-
Zip ties or fasteners: You might need these to reattach certain parts later.
-
Plastic bags or containers: To store screws, clips, or hooks safely.
Chapter 3: Consult Your Car Manual
Your car's manual can be an invaluable resource when it comes to removing car seat covers. It may contain specific instructions or illustrations relevant to your car's make and model, which can make the removal process smoother.
Chapter 4: Prepare for Removal
Before you start removing your car seat covers, it's essential to prepare the area:
-
Park your car in a well-lit and clean workspace. This will make it easier to see what you're doing and prevent any loose debris from entering your vehicle.
-
Disconnect the car's battery, especially if your car has side-impact airbags. This is an important safety precaution to avoid accidental deployment while working near the seats.
Chapter 5: Start with the Headrest
In most cases, you'll want to start by removing the headrest of your car seat. Here's how:
-
Adjust the headrest to its highest position.
-
Locate the release button or pin on the headrest posts.
-
Press the release button or remove the pin while simultaneously pulling the headrest upward.
-
Once the headrest is detached, set it aside.
Chapter 6: Remove the Seat Back
Removing the seat back is usually the next step:
-
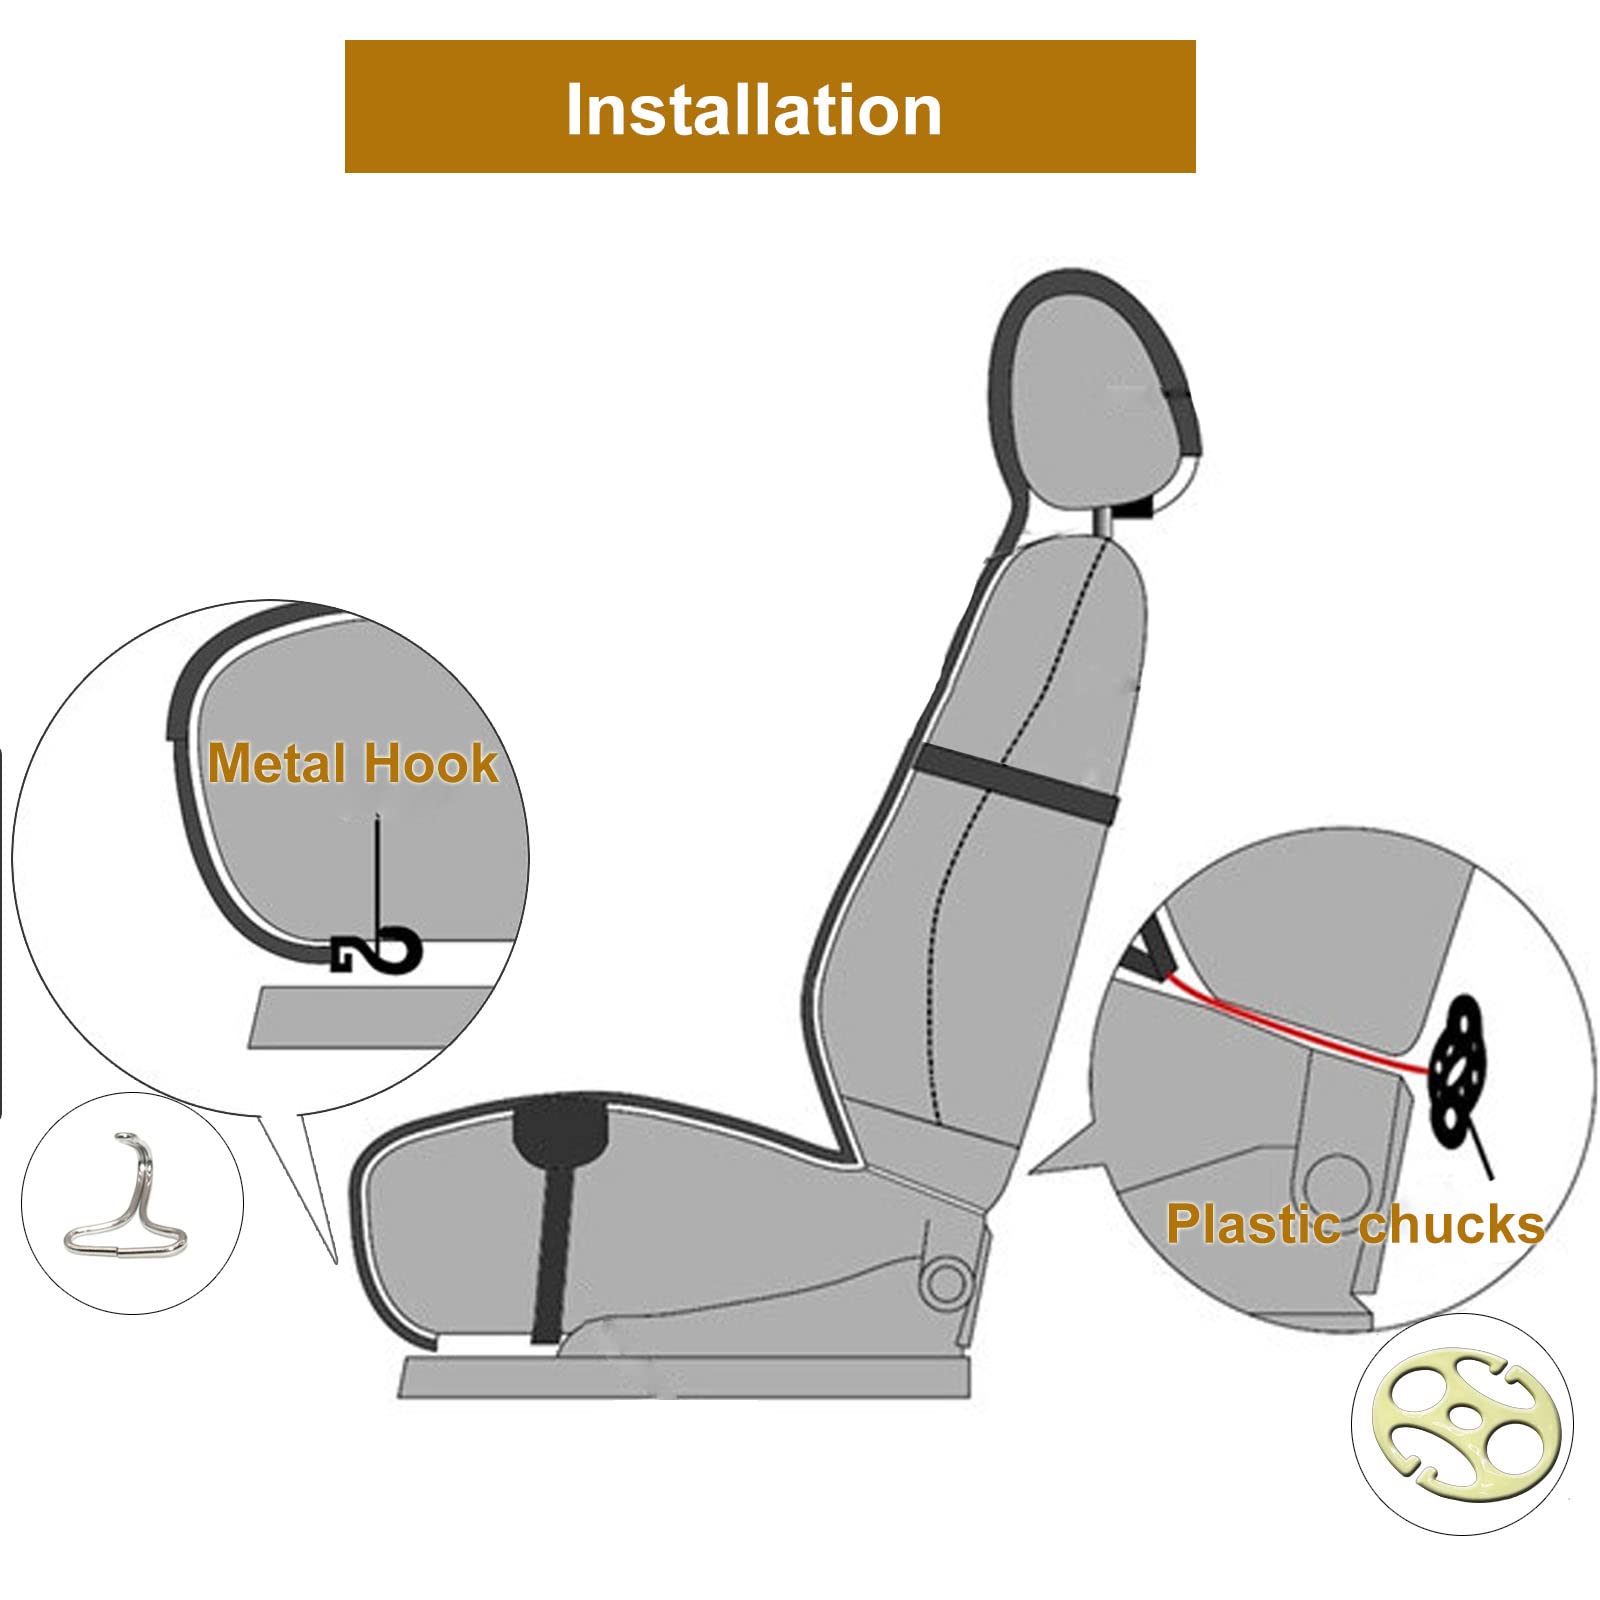
Locate the screws or fasteners that secure the seat back cover. These are often found along the sides and bottom of the seat.
-
Use the appropriate screwdriver or pliers to remove the screws or fasteners.
-
Keep track of the screws or fasteners, placing them in plastic bags or containers for safekeeping.
-
Carefully pull the seat back cover away from the seat. It may be secured with clips, so use gentle force as needed.
-
If there are clips, use pliers to carefully release them.
-
Once the seat back cover is detached, set it aside.
Chapter 7: Remove the Seat Bottom
Now, it's time to remove the seat bottom cover:
-
Locate the screws or fasteners that secure the seat bottom cover. These are often found underneath the seat or along the sides.
-
Use the appropriate screwdriver or pliers to remove the screws or fasteners.
-
Keep track of the screws or fasteners, placing them in plastic bags or containers for safekeeping.
-
Carefully lift the seat bottom cover away from the seat. It may also be secured with clips.
-
If there are clips, use pliers to carefully release them.
-
Once the seat bottom cover is detached, set it aside.
Chapter 8: Remove Armrest and Side Covers (if applicable)
Depending on your car's make and model, you may have armrest and side covers that need to be removed:
-
Locate any screws, fasteners, or clips securing the armrest and side covers.
-
Use the appropriate tools to remove them.
-
Carefully pull the armrest and side covers away from the seat, being mindful of any electrical connections or wires if your car has power features.
-
If there are clips, use pliers to carefully release them.
-
Once the armrest and side covers are detached, set them aside.
Chapter 9: Remove Any Additional Components
Some car seat covers may have additional components, such as heating elements, that need to be disconnected before you can fully remove the covers. If your car seats have these features, consult your car manual for instructions on disconnecting them properly.
Chapter 10: Label and Store Fasteners
As you detach screws, clips, or other fasteners, be sure to label them if needed and store them in plastic bags or containers. This will help you keep track of the parts during reinstallation.
Chapter 11: Detach the Cover
With all the fasteners removed and components disconnected, you can now detach the car


