DIY Guide: How to Make Custom Car Seat Covers ?
Introduction
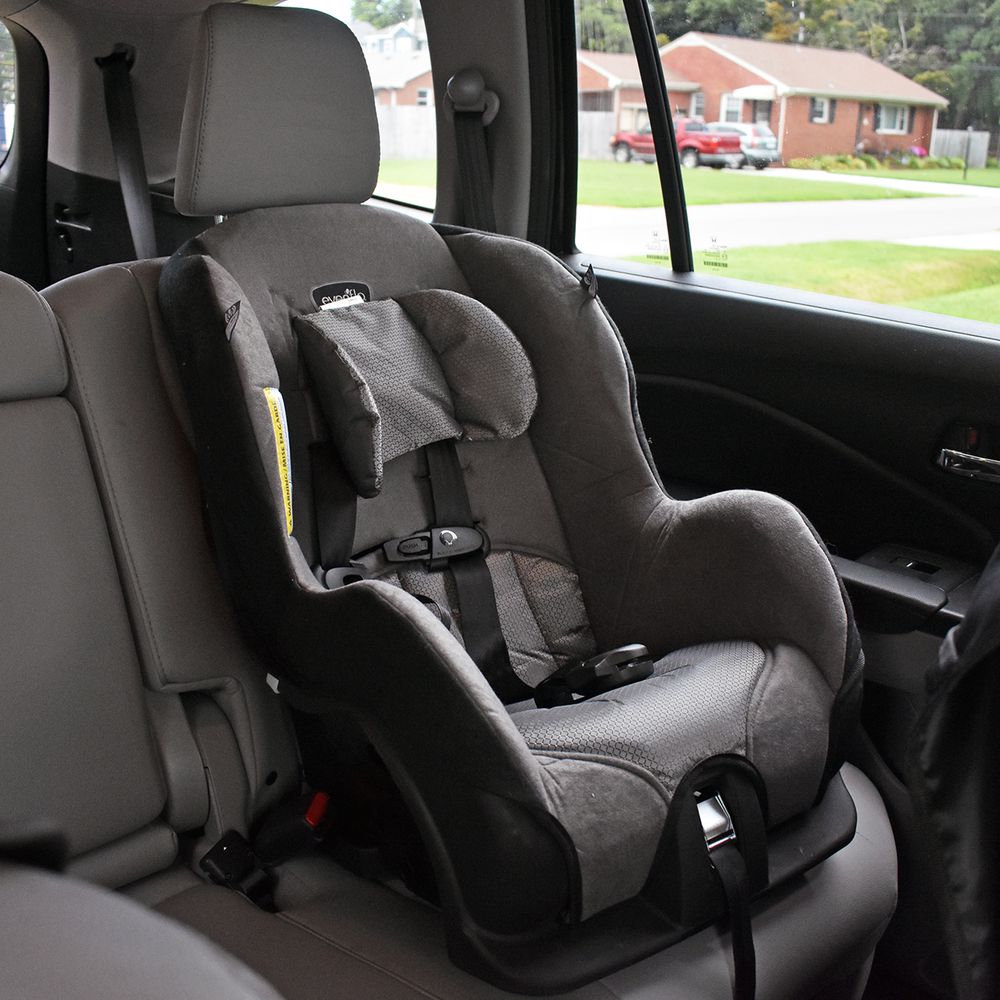
Car seat covers not only protect your vehicle's seats but also add a personalized touch to your interior. Whether you want to upgrade the look of your car or need to replace old, worn-out covers, making your own car seat covers can be a fun and rewarding DIY project. In this comprehensive guide, we'll walk you through the steps on how to make custom car seat covers that are not only stylish but also tailored to fit your vehicle perfectly.

Chapter 1: Gather Your Materials and Tools
Before you begin crafting your custom car seat covers, it's essential to gather all the necessary materials and tools. Here's what you'll need:
Materials:
-
Fabric: Choose a durable and suitable fabric for your seat covers. Options include vinyl, leather, canvas, denim, or a fabric of your choice.
-
Thread: Select a high-quality, strong thread that complements your fabric's color.
-
Foam Padding: For added comfort, consider using foam padding or foam-backed fabric.
-
Velcro or Elastic Bands: These will help secure your seat covers in place.
-
Fabric Marker or Chalk: For marking and cutting your fabric accurately.
-
Measuring Tape: To measure your car seats and fabric dimensions accurately.
Tools:
-
Sewing Machine: An electric sewing machine is highly recommended for this project, but you can also hand-sew if you have the skills and patience.
-
Scissors: Sharp fabric scissors for cutting your chosen material.
-
Pins: To hold fabric pieces together while sewing.
-
Iron and Ironing Board: For pressing seams and ensuring a professional finish.
Chapter 2: Measure and Prepare Your Car Seats
Before you start cutting your fabric, it's crucial to take precise measurements of your car seats. Different car models have different seat dimensions, so custom measurements are essential. Here's how to do it:
-
Backrest: Measure the height and width of the backrest, from the top to the bottom and from side to side.
-
Seat Cushion: Measure the length, width, and depth of the seat cushion.
-
Headrest: Measure the height, width, and thickness of the headrest.
-
Armrests (if applicable): Measure the length, width, and thickness of any armrests you plan to cover.
Once you have your measurements, add a few inches to each dimension for seam allowances and a snug fit.
Chapter 3: Create a Pattern
Before cutting your fabric, it's a good idea to create a paper pattern. You can use craft paper, old newspaper, or even large sheets of wrapping paper for this purpose. Lay the paper over the car seat and trace the contours of the seat, backrest, headrest, and armrests, marking any curves or corners.
Remember to label each pattern piece to avoid confusion later. You should have patterns for the seat bottom, seat back, headrest, and any armrests.
Chapter 4: Cut the Fabric
With your patterns ready, it's time to cut the fabric. Lay your chosen material on a flat surface, and place the paper patterns on top. Use fabric markers or chalk to trace around the patterns, leaving room for seam allowances.
Carefully cut out the fabric pieces following your traced lines. Be precise to ensure a snug fit when you later sew the pieces together.
Chapter 5: Sew the Seat Covers
Now comes the sewing part. Follow these steps to sew your custom car seat covers:
-
Sew the Seat Back and Seat Bottom: Place the seat back and seat bottom pieces right sides together and sew along the edges, leaving an opening to turn the cover right side out.
-
Attach Foam Padding (Optional): If you're adding foam padding for extra comfort, insert it between the fabric layers before sewing the edges. Ensure the foam is evenly distributed.
-
Turn Right Side Out: After sewing, carefully turn the cover right side out through the opening you left. Use a blunt tool, like a knitting needle or chopstick, to gently push out corners for a clean finish.
-
Topstitching: Close the opening and topstitch around the edges for a polished look and added durability.
-
Add Velcro or Elastic Bands: Depending on your design, attach Velcro or elastic bands to secure the seat cover in place on the car seat.
-
Repeat for Headrest and Armrests: Follow the same steps for the headrest and any armrests, customizing each piece to fit its corresponding part of the car seat.
Chapter 6: Install Your Custom Car Seat Covers
Now that you've completed your DIY car seat covers, it's time to install them in your vehicle:
-
Remove Old Covers: If you're replacing existing seat covers, remove them carefully.
-
Fit the New Covers: Slide the new custom seat covers over your car seats, ensuring a snug and secure fit. Attach any Velcro or elastic bands to keep them in place.
-
Adjust as Needed: Make any necessary adjustments to ensure the covers fit correctly and that seatbelts and buckles remain accessible.
Chapter 7: Maintenance and Care
Proper maintenance and care will extend the life of your custom car seat covers:
-
Regularly vacuum or shake off loose dirt and debris.
-
Follow the manufacturer's care instructions for cleaning your chosen fabric.
-
For fabric covers, consider using a fabric protector spray to repel stains.
-
Remove and clean the covers if spills or accidents occur.
Conclusion
Creating custom car seat covers is a rewarding DIY project that allows you to protect your vehicle's seats while adding a personal touch to your interior. By following these steps and taking precise measurements, you can design and sew seat covers that fit your car perfectly and reflect your unique style. Remember to prioritize safety and ensure that the seat covers do not interfere with seatbelts or airbag deployment. With a bit of creativity and sewing skill, you can transform your car's interior and enjoy the comfort and style of custom-made seat covers.
