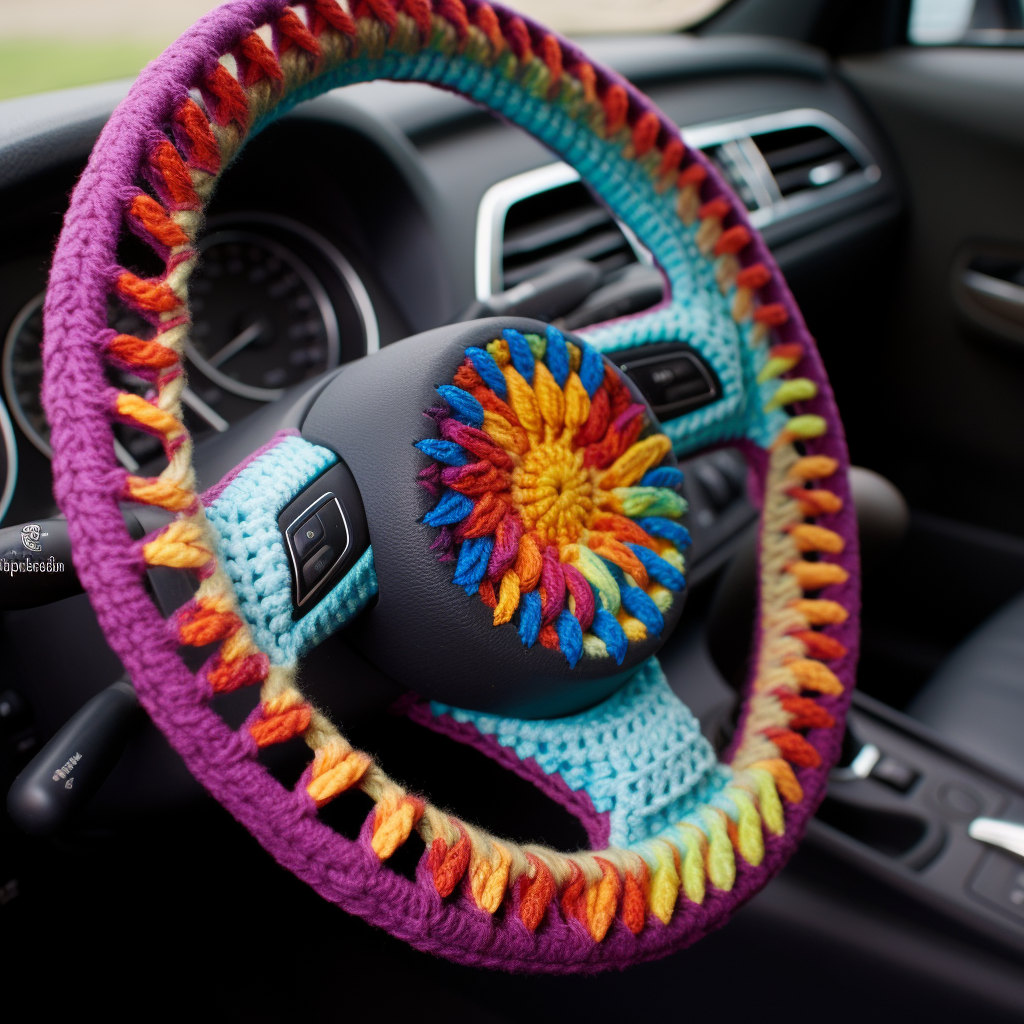
How to Remove a Steering Wheel Cover? A Step-by-Step Guide

How to Remove a Steering Wheel Cover: A Step-by-Step Guide
Removing a steering wheel cover might seem like a daunting task, especially if you're unfamiliar with the process. However, whether you're looking to replace an old cover or make some adjustments, the process can be straightforward with the right guidance.
In this comprehensive guide, we'll walk you through the step-by-step process of removing a steering wheel cover while ensuring safety and efficiency.
Tools You'll Need to Remove a Driving Wheel
Before you begin, gather the necessary tools to make the process smooth and hassle-free. Here's what you'll need:
-
Flathead Screwdriver or Plastic Pry Tool: This tool is essential for gently prying the cover away from the steering wheel without causing damage.
-
Needle-Nose Pliers: These pliers are helpful for removing any fasteners that might be securing the cover in place.
-
Clean Cloth: Keep a clean cloth handy to wipe away any dust or debris as you work.
Remove Steering Wheel Step-by-Step Guide
Follow these steps to remove a steering wheel cover safely and effectively:
Step 1: Park your Vehicle
Ensure your vehicle is parked on a flat surface, and engage the parking brake. For added safety, you might consider disconnecting the vehicle's battery to prevent any accidental airbag deployment while working on the steering wheel cover.
Step 2: Turn the Steering Wheel
Turn the steering wheel to position the front wheels in the straight-ahead position. This provides better access to the cover and makes the removal process more convenient.
Step 3: Inspect the Cover
Examine the steering wheel cover to identify any visible fasteners or clips that might be securing it in place. Some covers might have visible screws, while others may be held in place by hidden clips.
Step 4: Begin Removal
Use a flathead screwdriver or a plastic pry tool to gently insert between the edge of the steering wheel cover and the steering wheel itself. Be cautious not to scratch or damage the steering wheel's surface. Slowly pry the cover away from the wheel.
Step 5: Release Clips or Fasteners
If your steering wheel cover is secured with clips or fasteners, locate them as you gently pry the cover. Use needle-nose pliers to release these fasteners carefully. Apply gentle pressure to avoid breaking or damaging them.
Step 6: Work Your Way Around
Continue to work your way around the steering wheel, gradually prying the cover away from the wheel's surface. Take your time to ensure you release all clips or fasteners without causing any harm.
Step 7: Remove the Cover
Once you've successfully released all clips or fasteners, the cover should come off relatively easily. Be mindful of any wires or connectors that might be attached to the cover, such as those for steering wheel controls or airbag components.
Step 8: Detach Connectors (if applicable)
If your steering wheel cover is equipped with controls or other components, carefully detach the connectors. Use gentle pressure and avoid pulling on the wires directly. Remember the arrangement of the connectors for reinstallation.
Step 9: Clean the Steering Wheel
With the cover removed, take the opportunity to clean the steering wheel's surface using a mild cleaning solution and a clean cloth. Remove any dirt, residue, or grime to prepare for the installation of a new cover, if desired.
Step 10: Reassembly
If you plan to install a new steering wheel cover, follow the manufacturer's instructions for proper installation. Begin by reattaching any connectors you detached in the previous step. Ensure a secure connection.
Step 11: Attach the New Cover
Carefully align the new steering wheel cover with the steering wheel and start attaching it by pressing it into place. If the cover uses clips or fasteners, ensure they are properly engaged.
Step 12: Test and Adjust
With the new cover installed, turn the steering wheel in both directions to ensure that it moves freely without any obstructions. Double-check that all components are securely attached and that the cover is evenly positioned.
Tips for a Smooth Steering Wheel Cover Removal
To ensure a smooth and successful removal process, consider these additional tips:
Tip 1: Read the Manufacturer's Instructions
Before you start removing the steering wheel cover, check if the manufacturer provides any specific instructions for removal. Some covers might have unique fastening methods or considerations you need to be aware of.
Tip 2: Take Photos for Reference
As you detach connectors and fasteners, consider taking photos with your smartphone to document the arrangement. This will make the reassembly process much easier, especially if you're dealing with multiple wires and connections.
Tip 3: Work Gently and Patiently
The key to a successful removal is patience and gentle handling. Avoid using excessive force or prying too aggressively, as this could damage the cover, the steering wheel, or its components.
Tip 4: Keep Screws and Fasteners Safe
If your steering wheel cover is held in place by screws or fasteners, make sure to keep them in a safe place. You don't want to lose any small parts during the removal process.
Tip 5: Use Protection
To prevent scratches or damage to your steering wheel's surface, consider wrapping the tip of your flathead screwdriver with a soft cloth or masking tape before prying.
Tip 6: Organize Your Workspace
Clear your workspace of any clutter and have all your tools ready before you begin. A well-organized workspace will help you work more efficiently and avoid any unnecessary stress.
Tip 7: Stay Mindful of Airbags
If your vehicle is equipped with airbags in the steering wheel, be cautious not to disturb the airbag or its components during the removal process. If in doubt, consult your vehicle's manual or a professional.
Tip 8: Inspect the Steering Wheel
As you remove the cover, take the opportunity to inspect the steering wheel itself. Look for signs of wear, damage, or loose components. If you notice anything of concern, address it promptly.
Common Challenges and Solutions
While removing a steering wheel cover is generally straightforward, you might encounter a few challenges along the way. Here are some common issues and their solutions:
Issue 1: Stubborn Fasteners or Clips
Some steering wheel covers might have fasteners or clips that are difficult to release. If you encounter resistance, avoid using excessive force, as this could damage the cover or the steering wheel.
Solution: Use a gentle wiggling motion with your pry tool to gradually release the fasteners. If they still won't budge, try applying a small amount of lubricant to help loosen them. Patience is key.
Issue 2: Hidden Fasteners
Certain steering wheel covers have fasteners located underneath the spokes or on the back of the wheel. These can be tricky to access and remove.
Solution: Refer to your vehicle's manual to identify the location of hidden fasteners. You might need to remove the airbag or other components to access these fasteners safely. If you're not comfortable doing this, consider seeking professional assistance.
Issue 3: Tight Fit
If the steering wheel cover is extremely tight, it might be challenging to pry it off without damaging it.
Solution: Gently heat the cover using a hair dryer on low heat. The heat will soften the material slightly, making it more pliable and easier to remove. Be cautious not to overheat the cover.
Issue 4: Tangled Wires
If your steering wheel cover has controls or components attached, you might encounter tangled wires during removal.
Solution: Carefully untangle the wires as you remove the cover. Take your time to avoid damaging the wires or the connectors. If you're uncertain, take photos before removing the cover to reference later.
Issue 5: Fragile Cover Material
Some steering wheel covers are made from delicate or fragile materials that can tear or break easily.
Solution: Handle the cover with extra care. Use a plastic pry tool instead of a metal screwdriver to prevent damage. If the cover tears during removal, consider replacing it with a new cover.
Safety Precautions and Expert Advice
Before you start the process of removing a steering wheel cover, it's important to prioritize safety and consider seeking expert advice when needed:
Safety Precautions:
-
Disconnect the Battery: To prevent accidental airbag deployment, consider disconnecting the vehicle's battery before starting the removal process. This precaution adds an extra layer of safety while you work on the steering wheel.
-
Protect Your Eyes: Wear safety glasses or goggles to protect your eyes from any debris that might dislodge during the removal process.
-
Avoid Excessive Force: Never use excessive force when prying the cover off. Applying too much pressure can damage the cover, the steering wheel, or its components.
-
Stay Mindful of Airbags: If your vehicle is equipped with airbags, be extremely cautious not to tamper with them during the removal process. Airbags are sensitive safety components that require specialized handling.
Seeking Expert Advice:
-
Vehicle Manual: Always consult your vehicle's manual before attempting any work on your steering wheel or airbag components. The manual will provide valuable information about your specific vehicle's setup and safety precautions.
-
Professional Assistance: If you encounter difficulties, hidden fasteners, or airbag-related concerns, consider seeking professional assistance. Mechanics and auto technicians have the expertise to safely handle steering wheel covers and related components.
-
Online Resources: Various online forums and communities are dedicated to car enthusiasts and DIY enthusiasts. These platforms can be valuable sources of advice, tips, and guidance from individuals who have tackled similar tasks.
Conclusion and Final Thoughts
Removing a steering wheel cover might seem like a complex task, but armed with the right knowledge and precautions, it becomes an achievable DIY project. By following the step-by-step guide, considering expert advice, and practicing safety measures, you can confidently remove a steering wheel cover to either replace it with a new one or make adjustments.
Remember that each vehicle and steering wheel cover might have unique characteristics, so adapt your approach as needed. Patience, attention to detail, and a cautious attitude are key factors in successfully completing this task without any complications.
As you embark on this journey, always prioritize safety. Taking steps like disconnecting the battery, protecting your eyes, and avoiding excessive force will ensure your well-being throughout the process.
If you are looking for a steering wheel cover make sure to take a look at our driving wheel cover collection, there will be plenty of suitable cover to your style and wheel size for you to choose.
Whether you're a seasoned DIY enthusiast or a first-timer, removing a steering wheel cover can be a satisfying endeavor that adds a personal touch to your vehicle's interior.
By approaching the task with confidence, careful planning, and the guidance provided in this article, you'll be well-equipped to tackle the removal process successfully and enjoy the results of your efforts.


