How to remove rain guards from car windows? A Step-by-Step Guide 2023

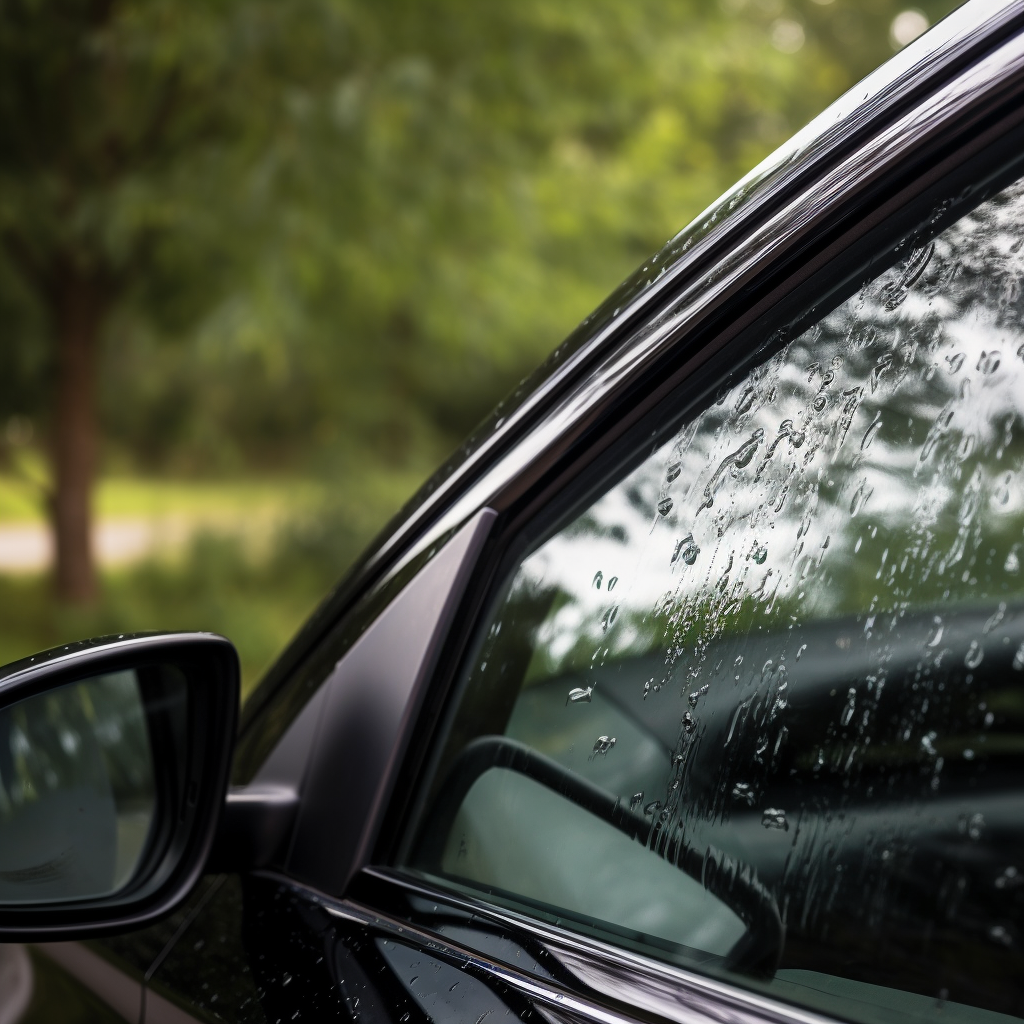
Car window rain guards, also known as window deflectors or vent visors, offer numerous benefits, from improved ventilation to protection against rain and debris. However, there might be situations where you need to remove them, whether for maintenance, replacement, or simply to change the look of your vehicle. If you're wondering how to remove rain guards from car windows, this comprehensive guide will walk you through the process step by step.
Tools and Materials You'll Need:
Before you begin, gather the necessary tools and materials:
- Utility knife or plastic trim removal tool
- Isopropyl alcohol or a similar cleaning solution
- Microfiber cloth
- Automotive adhesive remover (optional)
- Heat gun or hair dryer (optional)
- Painter's tape (optional)
Step 1: Preparing the Area
-
Park your vehicle on a level surface and ensure the windows and rain guards are clean. If your car's finish is sensitive, consider applying painter's tape around the rain guards to protect the paint.
-
If you have a heat gun or hair dryer, warming up the adhesive can make removal easier. Hold the heat source a few inches away from the rain guard and move it in a back-and-forth motion. Be cautious not to overheat the area, as it may damage the paint or plastic.
Step 2: Loosening the Adhesive
-
Insert a plastic trim removal tool or a flat utility knife under the edge of the rain guard. Gently pry it away from the window frame. Take your time to avoid scratching the paint or breaking the rain guard.
-
If the rain guard is secured with adhesive tape, continue to slide the tool along the length of the guard, gradually separating it from the window frame. Applying steady and even pressure helps prevent damage.
Step 3: Removing Adhesive Residue
-
After the rain guard is removed, there may be adhesive residue left on the window frame. Use an automotive adhesive remover or isopropyl alcohol to dissolve the adhesive. Apply the remover to a microfiber cloth and gently rub the residue until it loosens.
-
Wipe away the residue using the cloth. You might need to repeat this step until the adhesive is completely removed.
Step 4: Cleaning the Area
-
Once the adhesive is removed, clean the window frame using a microfiber cloth dampened with isopropyl alcohol. This ensures that the surface is clean and free from any residue.
-
If you used a heat gun or hair dryer to warm up the adhesive, wipe the area with a clean cloth to remove any excess heat.
Step 5: Final Checks and Touch-Up
-
Inspect the window frame to make sure all adhesive residue is gone. If you find any stubborn residue, repeat the adhesive removal process.
-
If you're planning to install new rain guards or make other modifications, this is a good time to do so.
Tips for a Successful Removal:
- If the rain guards are factory-installed, check your vehicle's manual for specific removal instructions.
- Be patient and gentle during the removal process to prevent damage to your vehicle's paint or plastic.
- Applying heat can make adhesive removal easier, but avoid overheating the area.
- If you encounter difficulties or are unsure about the removal process, consider seeking professional help.
Benefits of Removing Car Window Rain Guards
While car window rain guards offer several advantages, there might be instances where you find it necessary to remove them. Whether you're changing the look of your vehicle, addressing maintenance concerns, or simply looking for a different driving experience, removing rain guards can provide a range of benefits beyond their initial installation. Here are some additional benefits of removing car window rain guards:
-
Aesthetic Freedom: By removing rain guards, you can alter the appearance of your vehicle's windows. Some car owners prefer the clean and sleek look of windows without rain guards, allowing the original design of the windows to shine.
-
Paint Protection: Rain guards often cover a portion of the window frame. Removing them gives you the opportunity to inspect the paint underneath and address any potential scratches, chips, or imperfections that may have occurred over time.
-
Easier Cleaning: Cleaning the windows becomes simpler when rain guards are not in place. You won't have to worry about cleaning around the edges of the rain guards, which can accumulate dirt and grime.
-
Increased Visibility: Removing rain guards can enhance your visibility, especially at intersections and while making turns. Without rain guards obstructing your view, you'll have a clearer line of sight.
-
Improved Airflow: While rain guards enhance ventilation, some drivers prefer to experience the natural airflow without any obstructions. Removing the rain guards can provide a more direct breeze when driving with the windows down.
-
Reduced Wind Noise: Rain guards can sometimes create additional wind noise, especially at higher speeds. Removing them can result in a quieter cabin, contributing to a more peaceful driving experience.
-
Freedom to Tint Windows: If you plan to tint your windows, removing the rain guards makes the tinting process easier and allows for a cleaner finish. Tint films can adhere more effectively to the entire window surface.
-
Simplified Maintenance: While rain guards are designed to be durable, they may require maintenance over time. By removing them, you eliminate the need for regular cleaning and upkeep of the rain guards themselves.
-
Easier Access: When cleaning the exterior of your windows or performing maintenance, removing the rain guards gives you unrestricted access to the entire window surface.
-
Reduced Debris Accumulation: Over time, rain guards can accumulate debris along their edges. By removing them, you prevent the accumulation of dirt, leaves, and other particles in those areas.
-
Customization Options: Without rain guards, you have the freedom to explore other customization options for your vehicle's exterior, such as different window trims or decals.
-
Enhanced Driving Experience: Some drivers prefer the unfiltered sounds and sensations of driving without rain guards. Removing them can provide a more authentic and immersive driving experience.
Conclusion:
Removing rain guards from car windows might seem challenging, but with the right tools, patience, and care, it can be a manageable DIY project. By following this step-by-step guide and using the appropriate techniques, you can safely remove rain guards without causing damage to your vehicle's paint or windows. Always remember to take your time and prioritize the protection of your car's surfaces while performing any maintenance tasks.


